

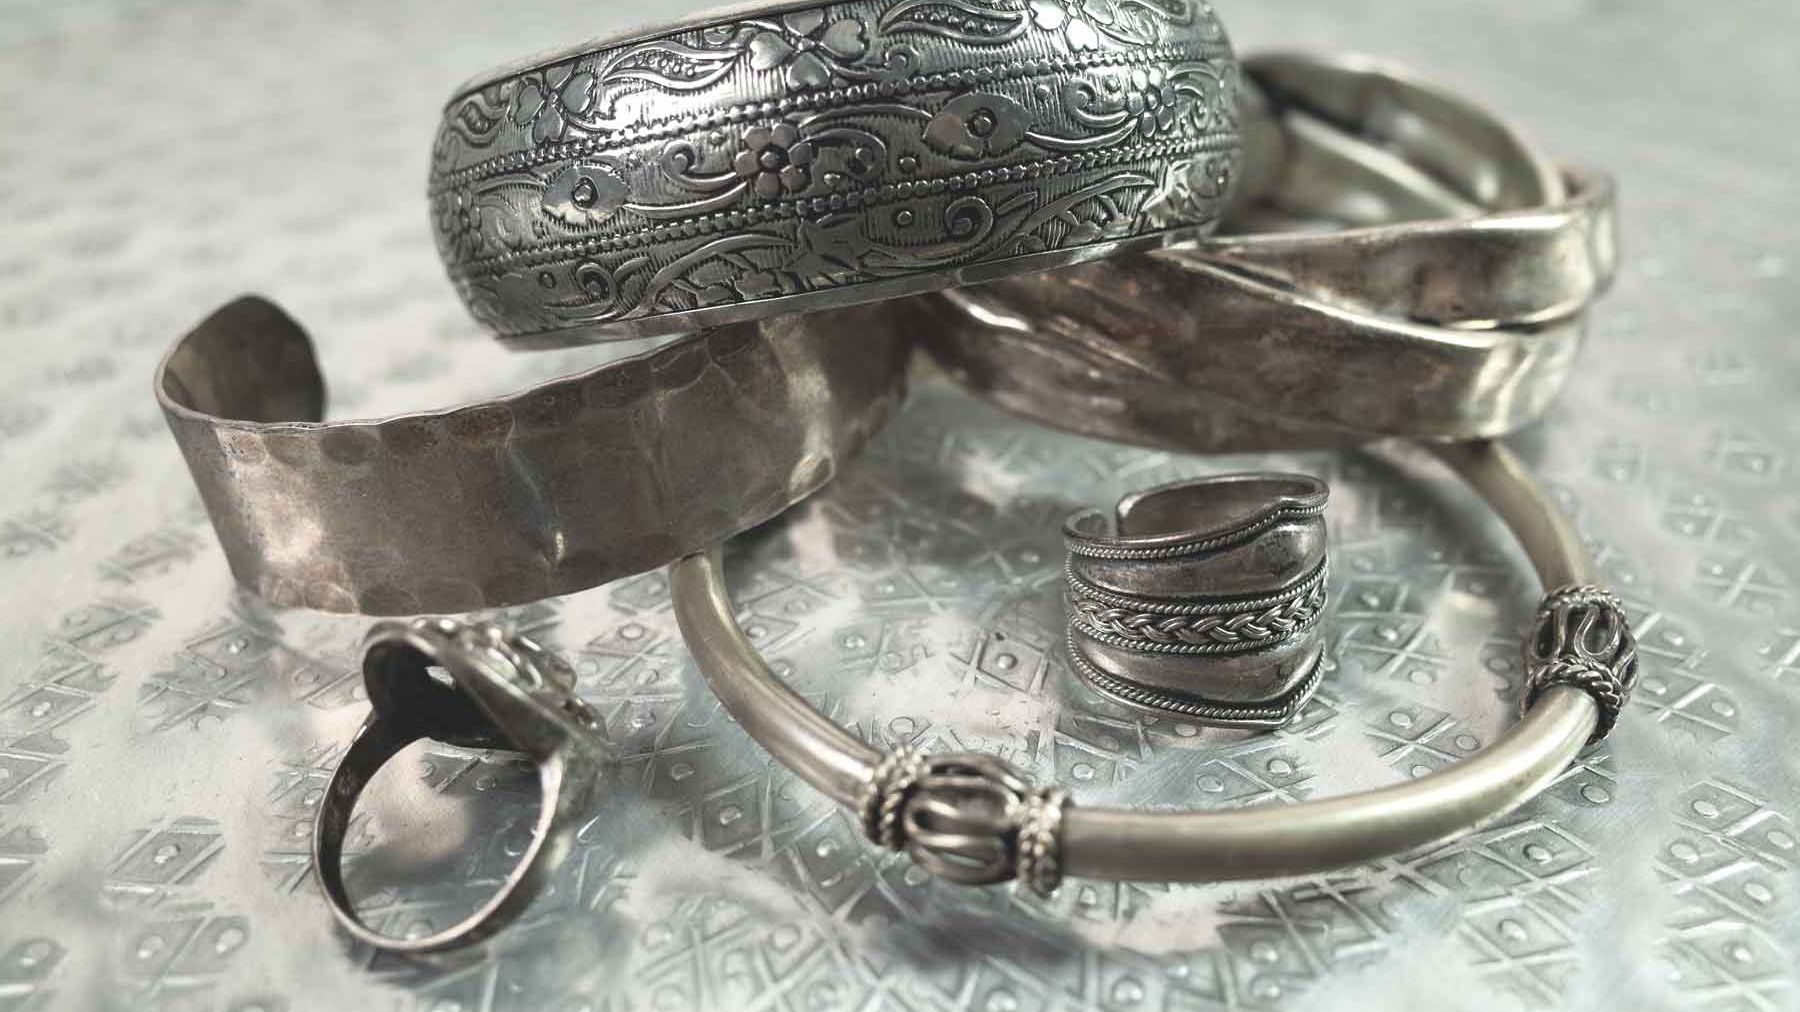
Silver jewelry, plates, and cutlery can tarnish naturally over time, no matter how much you care for them. While silver does not need as much maintenance as traditional household items such as bedsheets and kitchen appliances, it still needs to be cleaned regularly to maintain its luster.
Your most-worn rings, necklaces, and other jewelry pieces may only need to be polished now and then. But, fine silver left on display or tucked away in jewelry boxes may need a more thorough clean. This is particularly because silver tarnishes due to a chemical reaction caused by air and light exposure.
Bear in mind that polishing is abrasive, regardless of how delicately you clean, so cleaning should be limited to two to six times a year. While there are some cleaning products that are more reliable, we at MommySavesBig believe in doing everything economically. For this reason, we have also included a few homemade cleaning remedies made with popular household items like dish soap and baking soda. All of these cleaning methods are useful for restoring luster to all types of silver, from valuable antiques to new sterling silver.
What Do You Need to Clean Silver at Home?
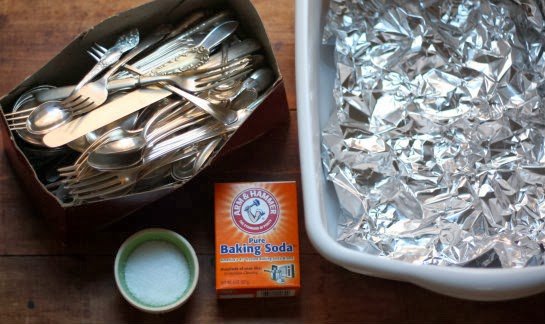
- Tarnished silver
- A large pot
- Aluminum foil
- A box of baking soda
- A glass or plastic container deep enough to keep the silver pieces
- Soft cotton cloth
- Tongs
Easy Steps to Clean Silver at Home
- Fill a large pot halfway with water and bring to a boil on the burner. In the meanwhile, as the water heats up, place a glass or plastic container in the sink. Place a sheet of aluminum foil on the bottom, and silver bits to be washed, on top.
- When the water has reached a boil, remove it from the heat and stir in 1/2 cup baking soda. It’s natural for the water to foam up a little. Pour the hot water and baking soda mixture over the tarnished silver with care, making sure the water fully covers the metal and keeps it in contact with the aluminum foil.
- Warm water, baking soda, and aluminum foil, when combined, lead to a chemical reaction that converts silver sulfide (tarnish) to silver, allowing sulfur atoms to move and bind to the aluminum foil instead.
- Allow 5 to 10 minutes for the silver to soak. When the silver sulfide loosens from the silver’s surface before sticking itself to the aluminum foil, the water will bubble a little and you may get a few whiffs of sulfur.
- Remove the silver pieces with tongs every few minutes to check on their progress. The more tarnished the item, the longer the oxidation will take to remove. If the tarnish persists, place the bits in the baking soda bath again to allow the tarnish more time to dissolve.
- Badly tarnished parts can need a second (and possibly third) treatment; simply replace the aluminum foil and heat a new pot of water and baking soda.
- Some bits are ready to use right out of the water, while others need a final polish. Simply make a paste with a little baking soda and water and rub it into places that still have any discoloration, such as around the tines of a fork or any embossed parts. The chemical reaction in the baking soda bath would have softened the tarnish, making any stubborn discoloration easy to polish off.
- Finally, rinse each piece with warm water and dry thoroughly with a clean cotton cloth. Never let silver air-dry; instead, remove all moisture with a soft towel and gently buff the piece as it dries to prevent a water-spotted finish.
Other Ways of Cleaning Silver
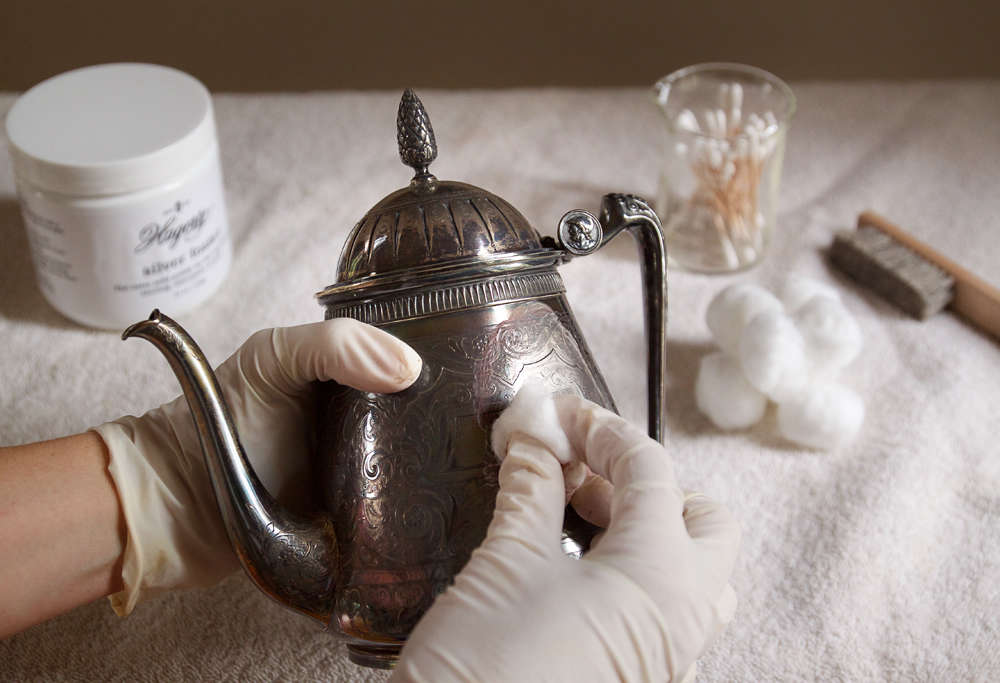
A microfiber cloth can remove dust from your candlesticks, trays, or jewelry, but it will not make them sparkle or shine. Instead, use a silver polish created for a specific purpose, such as Weiman Silver Polish and Cleaner.
- Using a clean cloth, apply a small amount of silver polish, dampened if possible.
- To stop highlighting fine scratches, rub the polish on your item in an up-and-down motion rather than a circular motion.
- As you work, turn the cloth frequently to avoid tarnish being redeposited on your piece.
- For shine, rinse with warm water and buff with a clean, dry cloth.
If you run out of polish, look for alternatives in your pantry.
- Mix a few drops of mild dish soap with warm water and dip in a soft cloth to clean silver that is dull, filmy, or not yet discolored. Rub the jewelry, then rinse it in cold water and buff it dry with a soft cloth.
- To clean heavily tarnished silver, make a paste with three parts baking soda and one part water. Wet the silver and use a soft, lint-free cloth to apply the cleaner (not paper towels). Work the paste into the crevices of the silver piece. While doing so, make sure you keep turning the cloth as it turns grey. Rinse and dry with a soft cloth.
Silver can tarnish as long as it is exposed to air and light, so here are some ways to store silver and slow down the tarnish process.
- Use a preventative coat of hair conditioner on your silver, or store it in an anti-tarnish bag made from tarnish-resistant silversmiths’ fabric, or make a simple DIY workaround.
- You may also start rolling each piece of silver in acid-free tissue paper or unbleached cotton muslin, all of which are readily available at most fabric stores. Just be careful not to let any silver parts contact each other, as this may cause scratches. Then, put the wrapped silver bits in plastic bags.
We hope now it’s clear to you how to clean silver. These inexpensive methods of cleaning silver mentioned in this article will help you keep your beautiful silver cutlery and other precious items intact, shining, and glowing for years to come.
Read also:
Best Stand Mixers in the U.S. That Are Selling Like Hot Cakes 2021