


A toaster is often ignored during kitchen cleaning because they are home products that don’t appear to be particularly filthy from the outside. After all, the rest of the crumbs end up inside the toaster. Crumbs and other food debris will dry out and become a fire hazard when they accumulate inside your toaster over time.
If your toaster hasn’t been cleaned in a while, you’ll probably start to detect an odd burning odor every time you use it. And if your toaster is particularly filthy, it can be impaired in its ability to toast your food evenly. This might lead you to replace your toaster sooner than anticipated
So, here’s our how-to clean a toaster guide for you. If you want to increase the life and efficiency of your toaster, then explore the ways to clean it.

The crumb tray is one of the simplest parts to scrub, and it can be done nearly 2-4 times a week. This is how it can be done:
- Switch Off the Electricity
Move the toaster to the cleaning area of the counter, make some room, and scatter a few newspapers once it’s unplugged.
- Clean the Crumb Tray
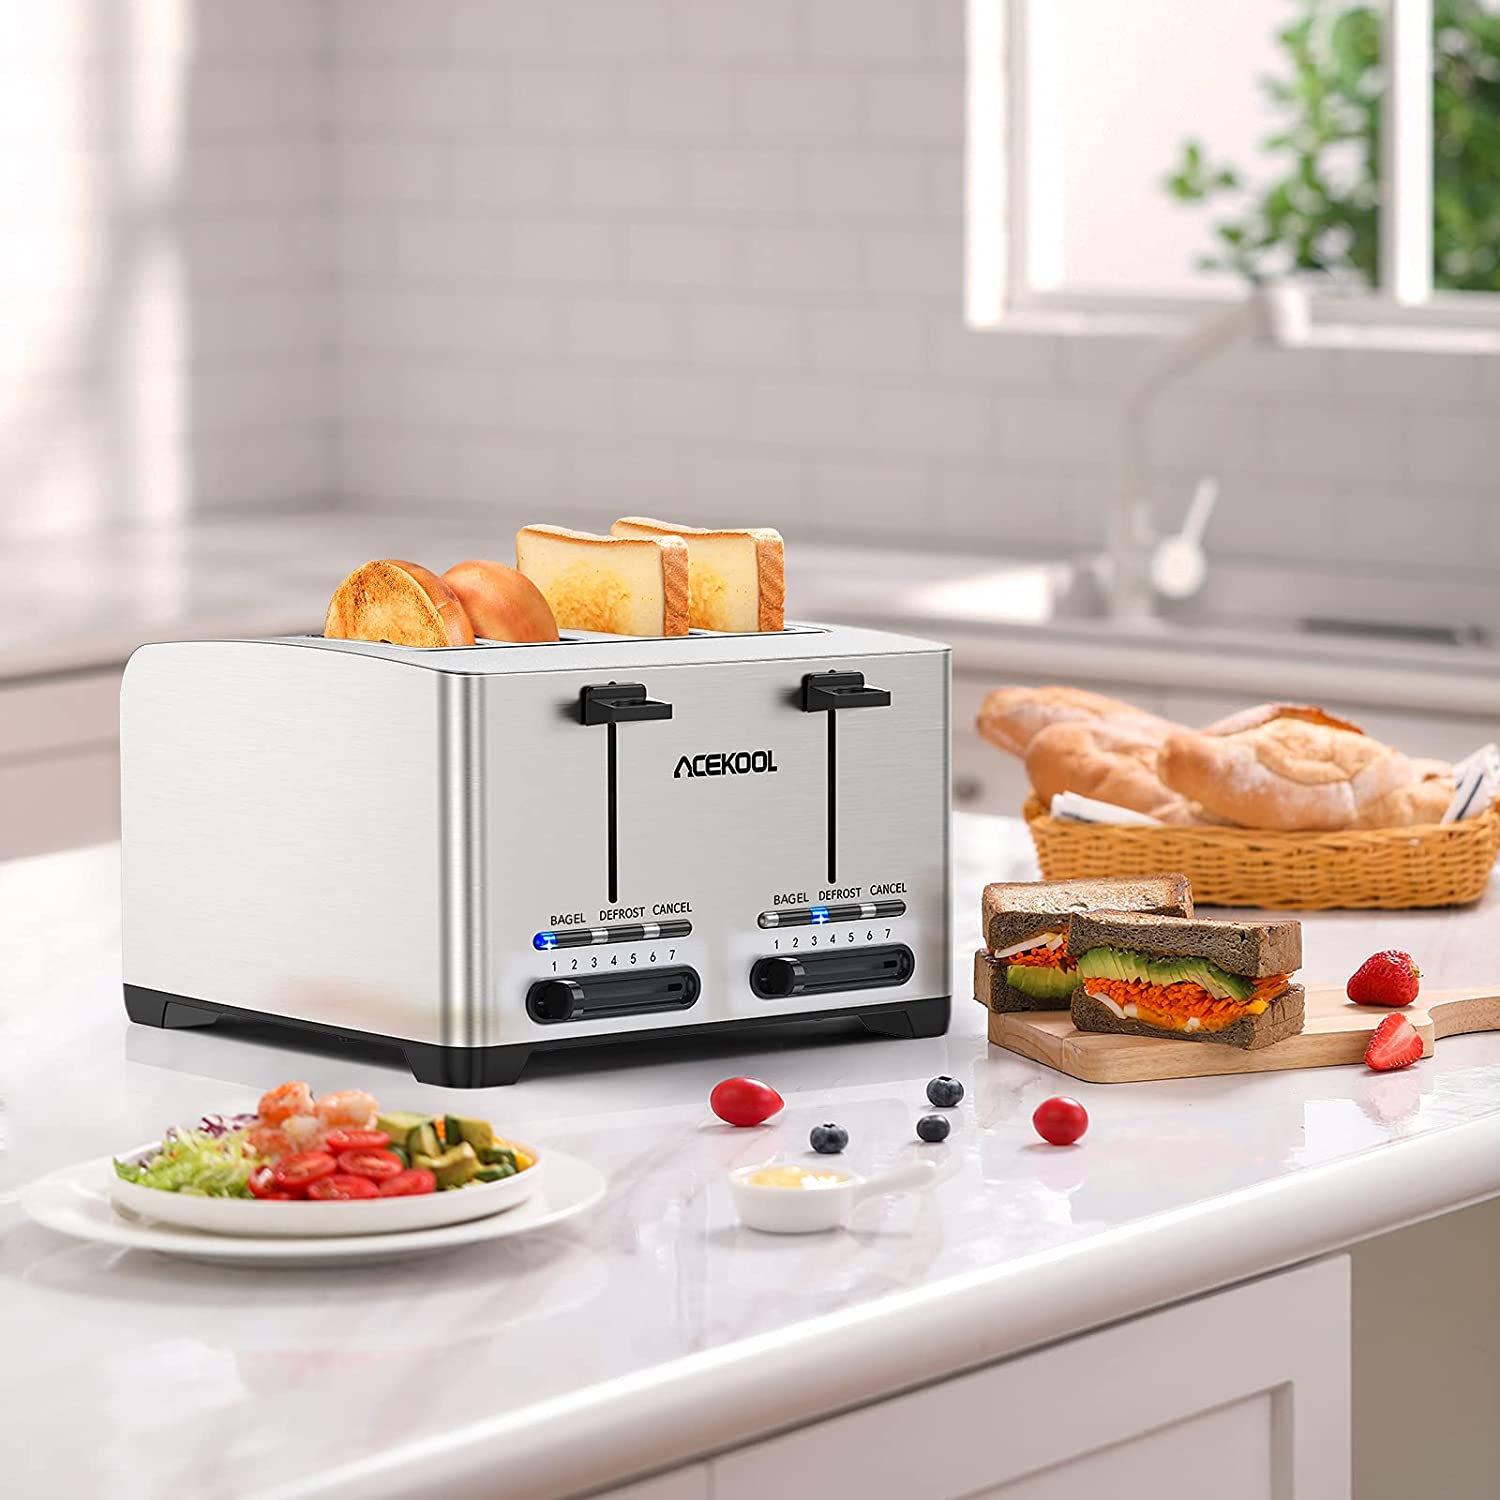
The crumb tray in most toasters like the Acekool Toaster TA1 – Stainless Steel 4-Slice Toaster, can be quickly removed. Flip it over so that all of the crumbs and dirt fall onto the newspapers.
If you haven’t washed your toaster in a long time, give it a good shake and a few taps. There might be some debris stuck to the tray.
- Wipe Down the Tray
After the crumbs have been removed, give the tray a thorough cleaning. You’ll need a sponge and some warm soapy water for this. Clean the tray like you would any other kitchen utensil, making sure to get rid of any stains or crumbs.
Allow it to dry fully before placing it back into the toaster after a thorough wash.
If the Crumb Tray is not Completely Detachable:
- Simply pull out as much of the crumb tray as possible, then turn the toaster upside down and shake it vigorously to extract all of the crumbs.
- Wipe the crumb tray clean with a damp cloth or sponge until it’s done. Just make sure it’s fully dry before reinstalling it and turning on the toaster.
- If your toaster does not have a removable tray, shaking out the crumbs by tilting the toaster may suffice, but do not be too rough.
2. Cleaning a Toaster
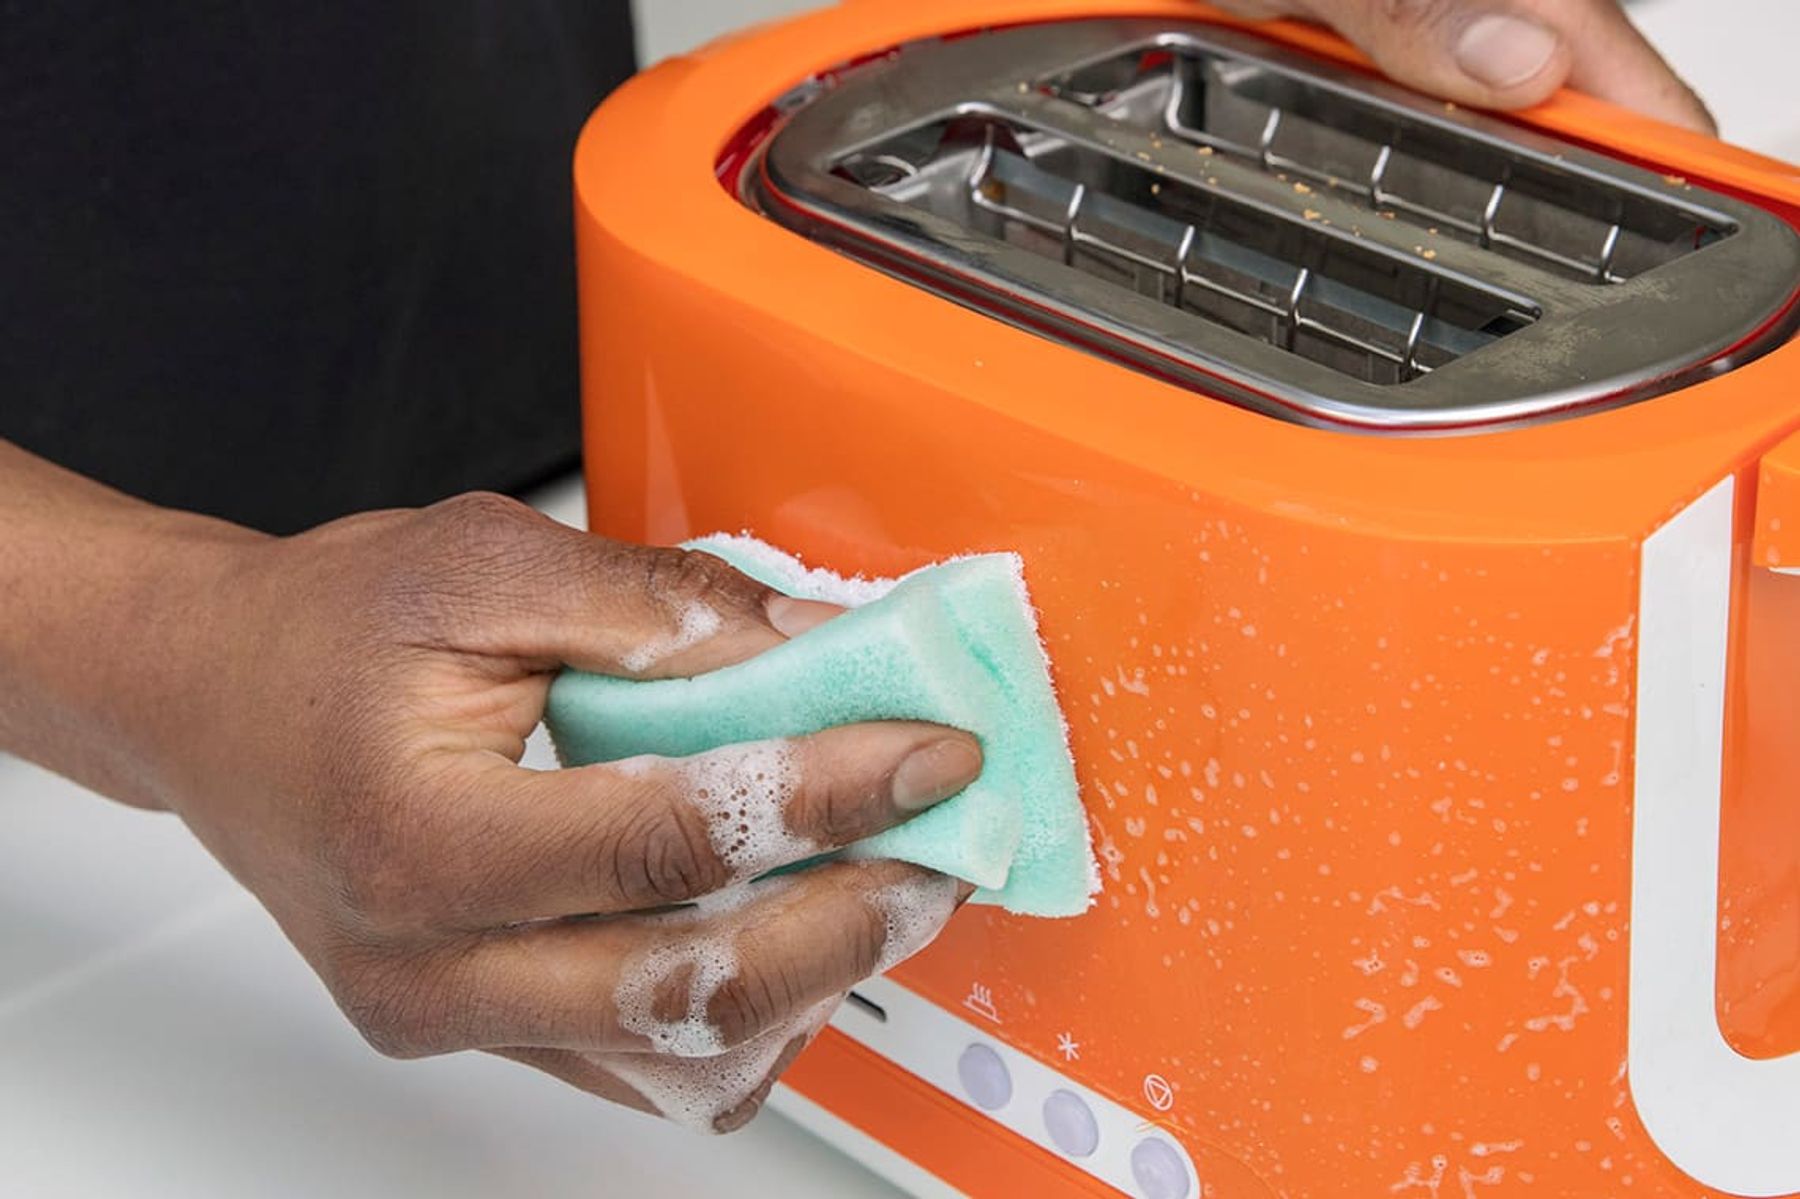
Once you’ve cleaned the inside of your toaster, you’ll want to move on to the outside. Many toasters can be disinfected with a disinfecting wipe (depending on the material), but if you want to be extra cautious, wipe down the exterior with a damp cloth and some mild dish detergent. This will make it much easier to remove any grease or other traces. Be sure to pay particular attention to your toaster’s knobs, since they appear to be the dirtiest.
If you have a stainless steel toaster, use a polishing wipe made especially for stainless steel to preserve its shine. If you don’t have any of these wipes, you can get similar results by rubbing a little vinegar with a clean cloth.
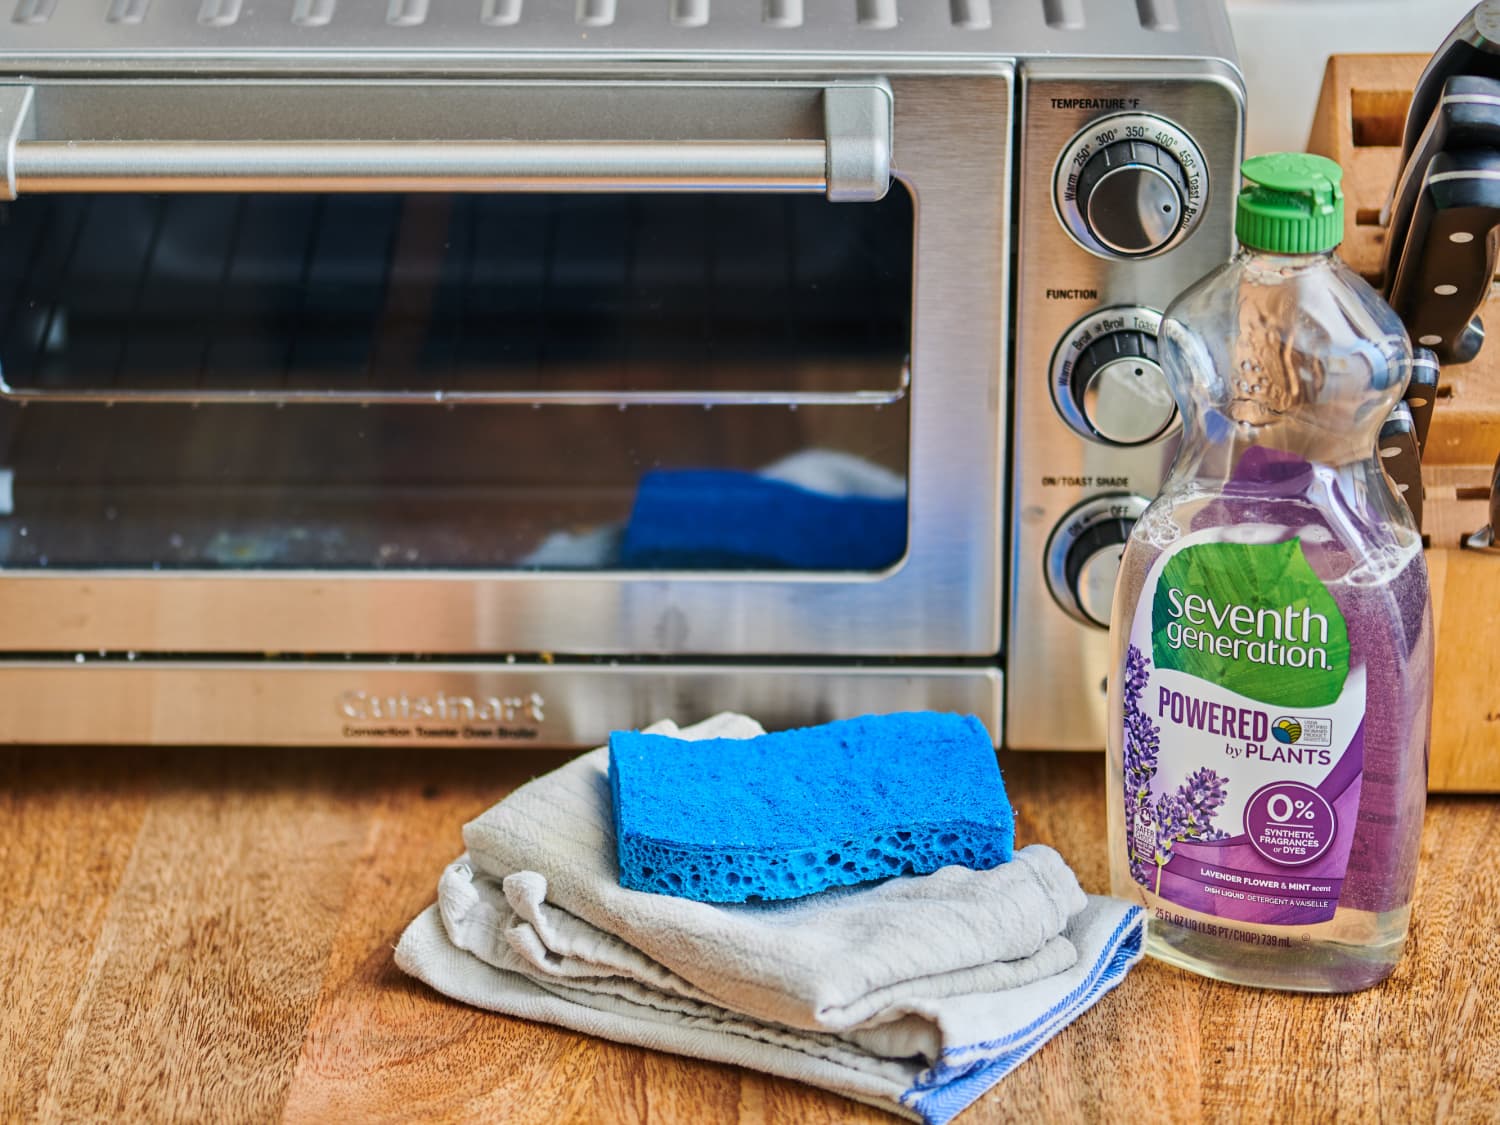
3. Cleaning a Toaster Oven
- Unplug the toaster oven.
- Start by cleaning your toaster oven’s removable pieces. Any trays or racks are included in this. Scrubbing with warm water and dish soap normally works, but caked-on food debris can involve a run through the dishwasher. You may also soak these pieces to make cleaning easier.
- Set aside all removable parts once they’ve been cleaned so they can dry while you move on to the next stage.
- Your toaster oven’s interior is probably the dirtiest part. Warm water, vinegar, and a small amount of dish soap can be used to make your own cleaner. To clean the inside of the toaster oven, apply some of this mixture to a sponge and wipe it down.
- Replace any components you removed once they are dry and your toaster oven will be ready to use again.
For the Exterior of a Toaster
- Remember to use a clean toothbrush or a pastry brush to clean the wires on the inside since they can quickly penetrate the inside and help you remove the grease and cheese residue that has accumulated.
- Turn the toaster upside down once more after running the brush or toothbrush through the wires 2-3 times to clear any debris that could have gotten inside.
- If a dry toothbrush isn’t cutting it and the toaster is very filthy, we would suggest dampening the brush with vinegar. Even, don’t soak the brush in vinegar; just dampen it, or the toaster will take longer to dry.
- Wipe the outside of the toaster with a wiping cloth dampened with vinegar. Baking soda may also be used to remove more stubborn stains.
- Scrub gently with a cloth that will not damage the toaster’s gleaming, vibrant paint.
Even after a year or two of use, the cleaning method we discussed above will ensure that your toaster toasts with the same quality. If you don’t use your toaster very much, you do not need to deep clean it as often, but that doesn’t mean you can ignore the crumbs. Once or twice a week, the tray should be emptied. Small appliances, such as toasters, only take a few minutes to wipe down with a damp cloth, so make sure you do it regularly.
So now that you know how to clean a toaster, get started today if you haven’t in a long time.
More to read:
Best Toasters in the U.S. That Are Worth Buying 2021.
Best Stand Mixers in the U.S. That Are Selling Like Hot Cakes 2021